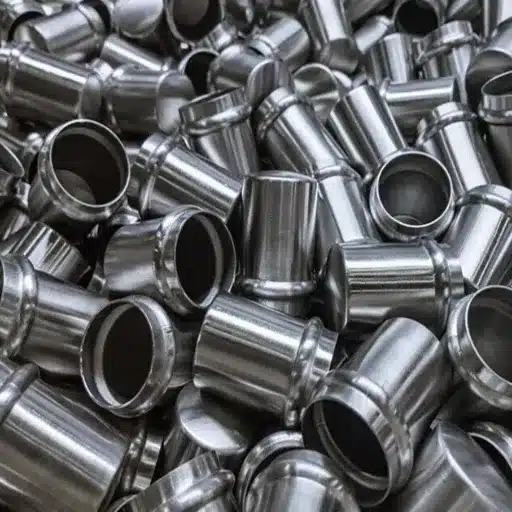
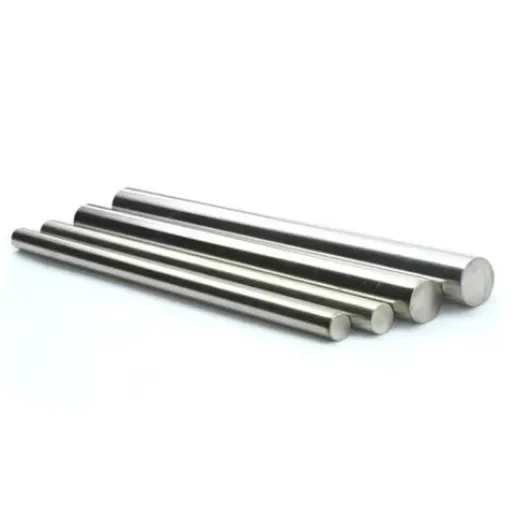
Scratches on a stainless steel surface can be an irritating eyesore, going against its smooth, polished glamour. Be it your kitchen appliances, your sink, or your cookware, these few blemishes can somehow bring weariness upon the sight of a beauty maintained well. But no need to worry! Repairing scratches in stainless steel could not be simpler! In this article, we gave you some practical methods and tips for bringing your stainless steel back to the shine of its original days. From simple DIY fixes to helpful maintenance tricks, you’ll find everything you need to keep your stainless steel looking sleek.
Importance of Maintaining Stainless Steel Appliances
Keeping stainless steel appliances well maintained is a sure way to preserve their beauty and will enhance their longevity. These appliances are quite an investment and are more often than not the centerpieces of modern kitchens due to their attractive and polished finishes.
Lifespan Extension
15%
Regular maintenance can extend appliance life by up to 15%
Cost Savings
20-30%
Reduction in repair and replacement costs
Keeping appliances clean and without blemishes maintains the shine of the steel aesthetically and makes it more resistant to stains and corrosion. Data shows that households following upkeep practices such as the use of non-abrasive cleaners, wiping along the grain of the steel, etc., end up saving 20-30% less on repairs and replacements for their stainless steel items during the span of their lifetime. Following such cleaning practices will definitely keep your appliances neat and attractive while remaining fully functional for a long time.
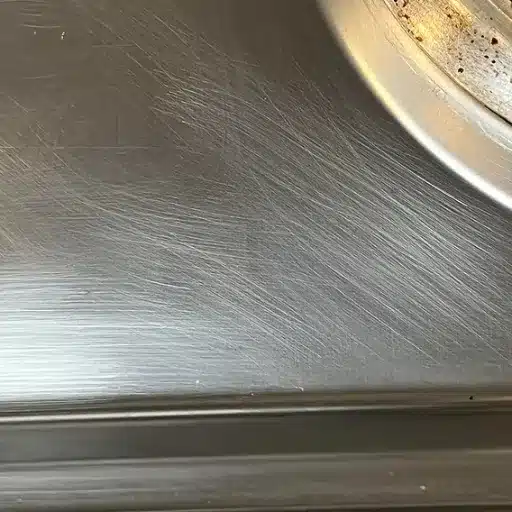
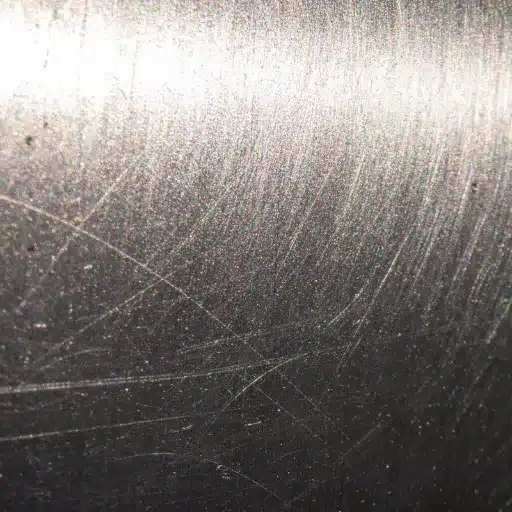
Understanding Different Types of Scratches

Things Needed for Scratch Removal

In order to remove scratches, I would require fine-grit sandpaper and stainless steel polish or rubbing compound, along with the non-abrasive cloth. Lastly, when the scratch is deep, a refinishing kit might be required. These materials help me take care of the surface imperfections efficiently, while balancing the finishing of stainless steel.
Scratch Removal Tools
Non-Abrasive Cleaners
These cleaners have polishing actions without damaging the finish. They diminish those fine scratches from stainless steel. Usually, Bar Keepers Friend or specially formulated stainless steel cleaner is recommended.
Microfiber Cloths
During scratch treatment, microfiber cloths can be used, which also means applying a cleaner. They do not scratch the surface.
Fine Grit Sandpaper or Abrasive Pad
In cases where the scratches run deeper, fine-grit sandpaper (1000-2000 grit) or special abrasive pads such as 3M Scotch-Brite are used to buff out the imperfections gently.
Polishing Compounds
Metal polishing compounds such as Flitz Stainless Steel Polish or other similar are used to revive shine and luster of the surface after removal of scratches, and they work best when used together with a buffer.
Step-by-Step Guide to Removing Scratches

Method 1: Using Stainless Steel Scratch Remover
Removing scratches from stainless steel surfaces is a straightforward process provided the use of a stainless steel-specific scratch-removing agent. This procedure will cater to light-to-mid-level scratch marks and will aid in fading and polishing the whole surface so that it appears flawless.
Instructions:
-
Clean the Surface
Clean the stained stainless steel surface with warm water after adding a few drops of mild dish soap. Wipe off any remaining grease, dirt, or debris to prevent contamination. Dry it well using a soft microfiber cloth.
-
Apply the Scratch Remover
Use a small amount of the stainless steel scratch remover squeezed onto another clean microfiber cloth. This product is florally designed with abrasives or buffing agents which make it easier to diminish the visibility of the scratches. Always make sure you read the instructions provided for your product to apply it correctly.
-
Buff the Scratch
Rub gently with the cloth along the grain of the steel as you apply the scratch remover. The grain is the natural pattern of the surface; rubbing in the opposite direction might make the damage worse. Apply pressure from light to moderate relative to the scratch’s depth.
-
Inspect and Repeat if Necessary
After about one to two minutes of buffing, wipe clean and look at your progress. In the case of deep scratches, you will have to reapply the scratch remover and repeat the process until the scratches are less visible or have disappeared.
-
Polish the Surface
Once you have reduced the visibility of the scratches, take that clean microfiber cloth and polish the entire surface to restore the original luster and seamless finish.
Method 2: Polishing Fine Scratches
Polishing fine scratches on stainless steel to restore the smooth finish demands further attention and the required materials. This is how to:
-
Clean the Surface
Before starting polishing, ensure that all dirt, grease, and debris are wiped off from the stainless steel. Use an adequate warm water solution combined with a gentle cleaner to wipe down the surface and follow with drying using the microfiber cloth.
-
Applying the Polishing Compound
Put a small blob of polishing compound onto a microfiber cloth or onto the surface itself. Gently rub it in following the grain of the stainless steel; avoid circular motions, as they may harm the finish.
-
Buff the Surface
Buff the area with a clean microfiber cloth until the scratch is no longer visible or is greatly diminished. This process may have to be repeated for deeper scratches.
-
Optional Fine Sandpaper Use
For the more glaring fine scratches, lightly use ultra-fine sandpaper or scouring pads in the direction of the grain. Use only light pressure to avoid creating more scratches. Follow up with polishing compound to restore the shine.
-
Final Cleaning and Inspection
Post-polish, wet the cloth and use it to wipe away any residue. Dry and inspect under good lighting to complete the job and see if the scratches are gone.
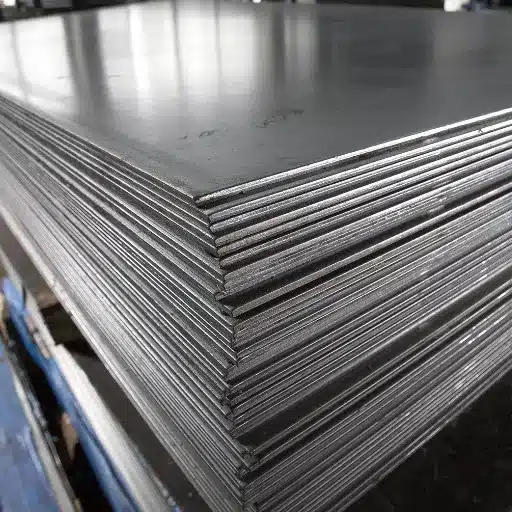
Best Practices for Maintaining Stainless Steel Surfaces
Keeping stainless steel surfaces pristine is easy provided you adhere to a few key best practices. Taking regular care of it keeps the shine intact and gives it strength to sustain over the years. Here are the best methods available:
Clean Regularly with Non-Abrasive Materials
Cleaning can normally be done once a day or once a week with warm waters and a microfiber cloth. For dirtier situations, a mild liquid soap with water is quite suitable and does not harm the surface.
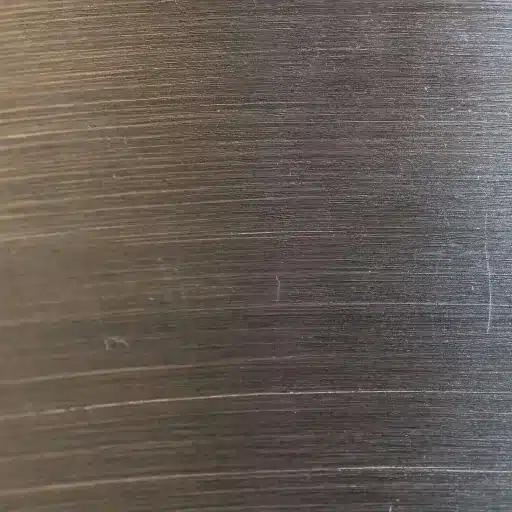
Wipe Along the Grain
Stainless steel clearly has a grain direction which is able to be viewed in the light. Cleaning or polishing along the grain shows that particles of dirt or grime will not get caught inside the grooves, thus keeping the surface flawless.
Avoid Harsh Chemicals and Abrasives
Cleaners with chlorine bases, scouring pads, or oven cleaners tear down the protective chromium oxide layer on stainless steel, leaving it open for rust.
How to Find the Direction of the Grain
Finding the direction of stainless steel grain is necessary for achieving a professional and clean appearance. The ‘grain’ refers to the brushing pattern in the texture left on the stainless steel during the manufacturing process. Cleaning and polishing along this grain is vital to prevent abrasive scratches and complete the seamless finish.
- Visual Inspection: Examine the surface under bright lighting to see fine lines running in one direction
- Touch Test: Wipe with a microfiber cloth in different directions – the smoother direction follows the grain
- Manufacturer Guide: Check product manual for specific grain information and maintenance instructions
Conclusion
Scratch Removal: The Key Points
Assess the Depth of the Scratch
Assess the level of damage before refining scratches in stainless steel. Slight surface scratches may often be buffed out by actually using a non-abrasive type of cleaner; deeper ones may require some tools or just that professional’s touch.
Make Use of the Right Products For The Job
There are products like polishes and scratch removal kits specifically made to aid repair. While shopping for polishes, consider those which have micro-abrasive properties; these will smooth out finer scratches and restore the shine to the material.
Work with the Grain
The brushed finish in stainless steel means it is brushed with very faint directional lines. Always clean, polish, or buff the surface along with the grain to keep the appearance consistent. Scrubbing against the grain will only worsen the scratches and give the surface a patchy look.
Try Some DIY Remedies
Try DIY remedies using baking soda, toothpaste, or even vinegar and water kind of solutions for finer scratches. Rub gently over scratches with a soft cloth, applying slight pressure, and then wipe it off with a clean microfiber cloth.
A Few Parting Words Regarding Stainless Steel Care
Stainless steel is a classic because of the modern look and durability it lends to appliances and surface installations. To retain a spotless look, however, it certainly requires maintenance.
Homeowner Preference: About 60% of homeowners prefer DIY cleaning methods such as baking soda paste or non-abrasive household cleaners to keep stainless steel surfaces away from scratches and stains.
When done correctly, these methods can safely remove light blemishes without dulling the shine of the material. Further to all that damage control, experts suggest regular cleaning with a microfiber cloth dipped in warm, soapy water, always wiping in the direction of the grain.
Thin applications of mineral oil will also boost their shine and create a layer of protection. Food-grade stainless steel surfaces common in the kitchen would definitely appreciate some extra TLC against smudges to keep the clean surface intact.
Reference Sources
Frequently Asked Questions (FAQs)
With proper care and the right techniques, your stainless steel surfaces can maintain their beautiful, professional appearance for years to come!